I started by applying Cylindrical Mapping to the head, which is a form of mapping that allows the user to view the whole of the model's UVs intact, as opposed to Spherical Mapping that only allows the user to view one side of the model or Automatic Mapping that splits the UVs into tiny pieces (which can be a little messy to texture).
In opened up the UV Texture Editor to view the map of my model, and as you can see, there were quite a lot of problems! As ever, click on an image to enlarge.

 . With this enabled, I can see the areas where UVs are overlapping, that are highlighted in red and dark blue. All the areas that are fine are highlighted in purple. What I need is for the UV map to be shaded entirely purple.
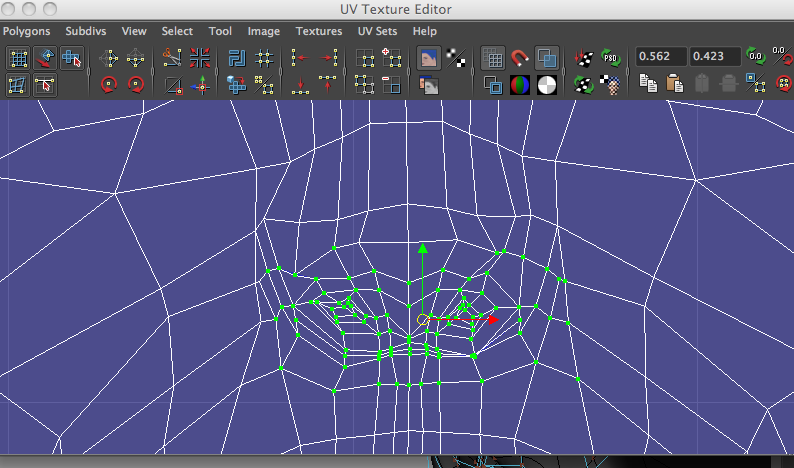
First of all, I needed to stitch these stray UVs back into their place in the map, how I did this was by moving the UV using the Move pivot tool and then going into Edges mode and selecting the Sew UV Edges option from the Polygons menu. I shall demonstrate this in the video below.
The next important stage of this process is the Relax tool, that can be found under the Polygons menu. I used this tool for most of this stage. I opened this tool, and made sure that the 'Pin unselected UVs' option was selected under the Pinning section. The tutorial video explains that this is to make sure that every UV that is unselected remains in it's place before I touch it. I also chose to use Uniform Edge Weights, as this is what is used for flattening the UVs around the face of the model.
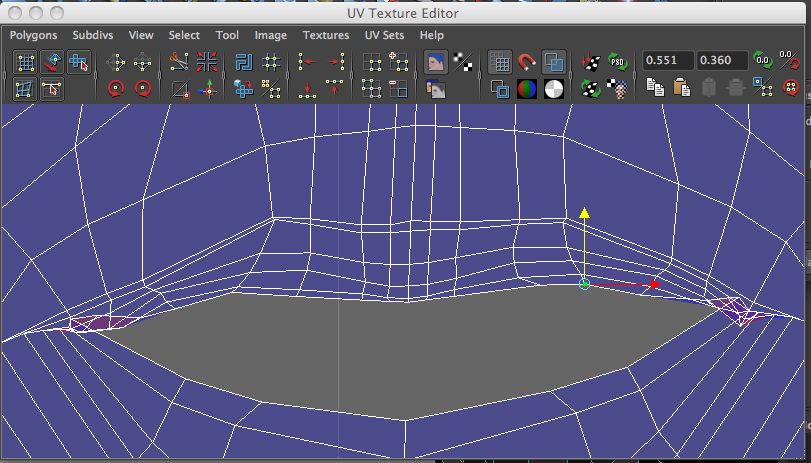
After I sewed the UVs around the empty hole, I now had to go around each part of the face and fix the UVs. I began with the left ear;

The thing I learnt about using Uniform Weights to relax the geometry is that it is incredibly drastic; this is fine when when trying to even out the edges of the UV Map, but when it comes to relaxing the UVs around the facial organs, it can flatten it out to the point that it becomes unrecognisable. However, there is another option called World Space, which tries to retain the same shape as the original model; thus making life easier for the Texture artist.
Although the relax tool is very useful, I found that it also helps to use the Move tool to manually fix any remaining UVs like the earhole pictured here.

I used the World Space Relax method on the other ear, as well as the nose, chin and lips.

As for the eyes, I pretty much just used the move tool to fix it by hand.

Here is how the UV Map looks now; the next stage will be to investigate applying texture to this UV Map.

I simply fixed the left, right and top edges by highlighting the relevant UVs and using the Move tool with the Snap to Grid mode switched.
I am very pleased with the outcome of this exercise. I feel that I will be able to do it again for the tutorial. I am glad that I have found out about relaxing the UVs and sewing the UVs; because in the last project, I found that I was having trouble texturing Cornelius' head because a lot of the UVs were overlapping one another, especially in the nose and around the brow; and I found myself having to manually drag UVs to get the texture correct. But I am looking forward to applying the texture to this UV Map.
No comments:
Post a Comment